DNS Leak Test: How to Check If Your DNS Requests Leak
Run a DNS leak test in five minutes, read the results, and fix it if your ISP's servers still show up in the list.
A DNS leak check takes about five minutes: turn on your protected connection, run a DNS leak test, and look at whose servers appear in the results. If your internet provider's name is there, your lookups are bypassing the protection. Your ISP can still see every domain you visit, even though the traffic itself is encrypted.
Why can't I just see a DNS leak?
Sites load, video plays, nothing slows down. The only way to know what's happening is to test. We covered how DNS works in our plain-language DNS explainer. The one thing to remember here: before opening any site, your device asks a DNS server where to go, and by default that's your ISP's server. For what else your provider can piece together from this, see our article on online privacy.
The test site works by a neat trick. It asks your device to look up several random addresses on its own domain, then records which DNS servers show up to answer. The standard test sends 6 queries. The extended test sends 36 and takes 10–30 seconds longer.
How do I check for a DNS leak, step by step?
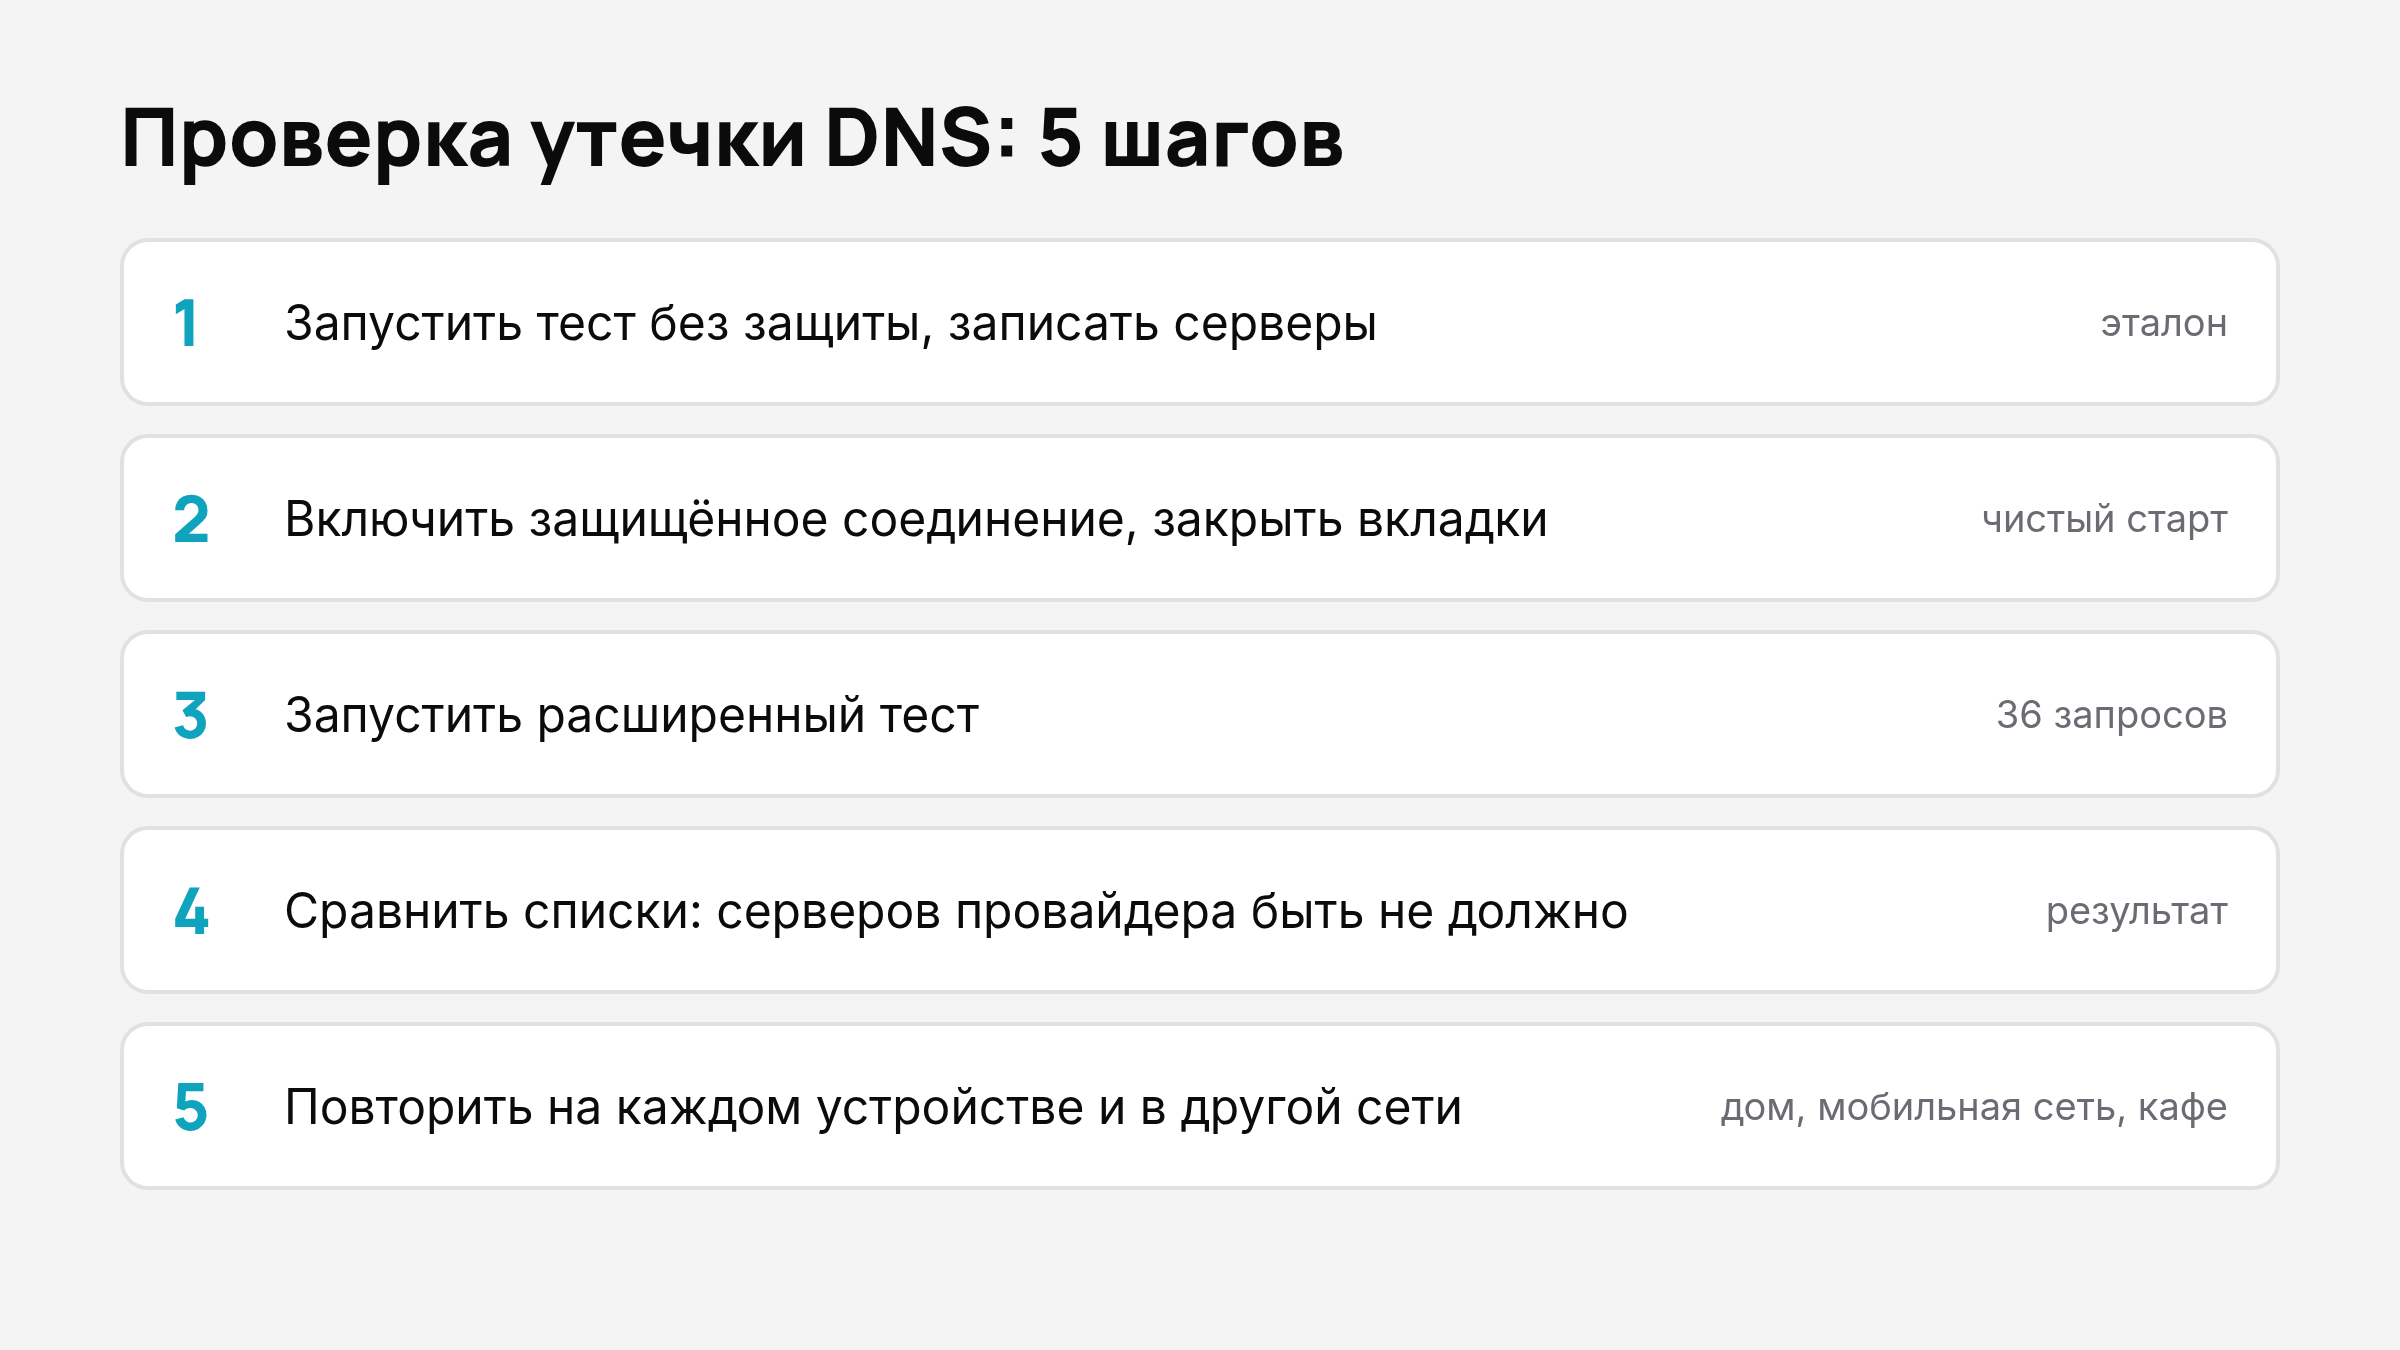
- Get a baseline without protection. Disconnect, open a test site (for example, dnsleaktest.com), run the standard test, and write down what it shows.
- Turn on your connection and close old tabs, since they may hold a stale DNS response.
- Run the extended test. The standard one is fine for a quick look, but 36 queries also catch rare leaks.
- Compare the two lists. For example, the baseline shows two lines with your ISP's name. After you turn protection on, those should be replaced by other owners. If the same two lines are still there, that's a leak.
- Repeat on a different network: at home, on mobile data, at a café. A leak is often tied to the network or router, not the device.
For extra confidence, run a second test site. If the two disagree, trust the worse result.
How do I read the results?
| What's in the list | What it means | What to do |
|---|---|---|
| Only servers of the privacy service | No leak | Nothing |
| Only your ISP's servers | DNS protection isn't working at all | Go through the list below |
| A mix of both | Partial leak | Check DNS in your network and router settings |
| A public DNS provider you set yourself | Not a leak, just a manual setting | Remove it if you want the service's DNS |
There can be a lot of lines: large DNS providers answer a single query from 6–10 servers at once. Count owners, not lines. Your ISP's name in the list is a sign of a leak.
Where do DNS leaks come from?
- DNS set manually in network settings or on the router. The system sends queries there regardless of the connection.
- Auto server selection keeps jumping. This is a standard case in our support: if the app switches servers three or more times an hour, the connection drops at every switch, and during those seconds queries may go out in the open. In Karing, picking one server manually helps. You'll find how in the setup guide for iPhone and Android.
- A dropped connection with no kill switch. The connection fails and the system carries on as if nothing happened. A kill switch protects against this.
- Your router or mobile carrier overrides DNS and sends queries to its own server.
- Protection isn't on everywhere. Your laptop is clean, but a tablet or streaming box connects directly.
What should I do if I find a leak?
Repeat the test after each step.
- Reconnect and restart the app.
- Choose a server manually instead of auto-select.
- Open network settings on Windows, Mac, iPhone, iPad, or Android and set any manually entered DNS back to automatic.
- Flush the DNS cache. On Windows, the command is
ipconfig /flushdns. Note that if DNS is set manually, flushing the cache changes nothing, so do step 3 first. - Check your router: it shouldn't have a hard-coded DNS that you didn't choose.
- If nothing helps, contact support and attach a screenshot of the test. It shows who answered the queries.
When should I run the test again?
After a system or app update, after changing your router or carrier, and before a trip if you'll rely on public Wi-Fi. Check each device separately. To see how many devices your plan covers, visit the Pricing section.